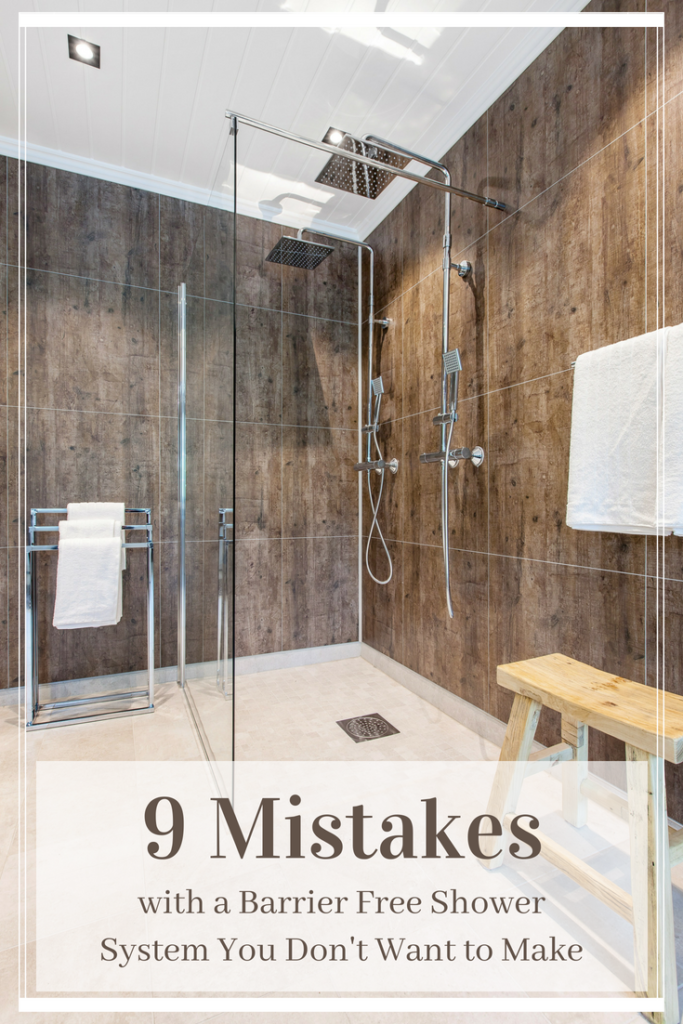
Avoid These Barrier Free Shower System Mistakes
Perhaps you find yourself in one of these situations and are kicking around a barrier free shower system:
- Mom is not moving around so well. You’re considering having her live with you. You’re not sure how to make your home and bathroom safe.
- Your spouse got hurt at work. Climbing over the tub to take a shower is an accident waiting to happen.
- Your son was seriously injured in a motorcycle accident. He’s now in a wheelchair. Life won’t be the same. You need to design a shower which works for him and won’t add to his (already) frustrated state of mind.
In my years helping people with one level, walk in and barrier free showers, I’ve experienced all 3 situations above.
Life happens. Reduced mobility gets in the way of living the way you’d like. Showers and bathrooms by their nature (as wet spaces) can be dangerous to people with (and without) problems getting around.
When you’re faced with mobility challenges – whether it’s a natural part of the aging process, an accident, or a temporary health bump in the road – figuring out the perfect shower system can be a hassle. You may be asking questions like these:
- What do I need to know about safe shower systems? More importantly, how can I get up to speed QUICKLY?
- Should I trust my contractor? They ‘seem’ like they know what they’re doing, but they’re also in a big rush to get to the next appointment. They only offered me one option. Is it the right one?
- Do I have to cut into the structure of the home (i.e. the joists below the floor) to make a barrier free shower?
My goal with this article is simple. I want to get you up to speed quickly, not only on barrier free shower pans, but more importantly I’d like you to view one level showers as a system of products (not just a single component that slapped into the bottom of your bathroom floor) which makes showering for someone with limited mobility simpler. I’d like to give you a deeper level of insight beyond the the ‘old-school-methods’ (used by too many contractors IMHO) of dropping the floor and pouring concrete.
Simply, I want to make sure you don’t make the 9 mistakes I’ve seen people end up ‘living with’ after it’s too late when a barrier free shower is done wrong. Let’s check out the 9 mistakes so you don’t fall into them. I’ll start with the shower pan and work my way up.
Mistake #1 (the floor)– You don’t know there are multiple options in barrier free shower pans
Just because your builder or contractor provides you with one solution for your project doesn’t mean it’s the only one (or the right one). If you think about it do you take everything your local or national politicians say as the gospel, just because they’re in a position of authority? I rather doubt it (especially in today’s day and age!). So, don’t stop at one solution because it’s what your contractor recommends. I’ve listed 4 popular options for barrier free shower bases:
Ramped solid surface or stone shower pan – With this pan there is a ramp which slopes up when you enter and slopes down to the drain. It installs like a traditional shower pan on top the subfloor. These units are available in multiple colors, are sturdy and waterproof since they are a man-made stone (they are also referred to as cultured granite or cultured marble bases), and have textured bottoms so they are safe.
Mistake #2 (the floor) – You don’t pay attention to types and location of the shower drain in the system you purchase
Where your drain is located in your wood or concrete floor can be a pain in your drain (‘er that would be your wallet) if you buy a barrier free shower pan with a drain hole which doesn’t match up to what you have. Moving the drain in a concrete floor will involve a lot of cost (cutting the floor is time consuming) and dust. Moving the drain in a wood floor is less of a hassle – but if the joists run in the wrong direction, your time and cost goes up significantly.
Another reason you want to pay attention to drains is for long term maintenance. A curbless shower system which uses a linear drain can be finished with large format tiles. They are not only in style for sleek, contemporary bathrooms – but will save you time cleaning grout joints down the road.
Mistake #3 (the walls and enclosure) – You let your builder guide you on the best type of shower wall surround
There are many materials you can use on the walls inside your shower. They can be tile walls. They can be stone walls. They can be made of fiberglass, acrylic or PVC composites to name a few. There is one thing you can take to the bank as 100% truth with all these systems. Here it is:
In all cases your remodeler or builder WILL NOT be coming over your house to help you maintain them.
Yes, you heard that correct. I’ve never heard of a builder who offers to take away from their family time and come over to a previous customer’s house to help scrub dirt and mold off tile grout joints. They also don’t research cleaning solutions for the nasty brown dirt you can’t get off the bottom of your fiberglass shower pan.
Mistake #4 (the walls and enclosure) – You assume a barrier free shower must be an open walk in shower
Some people don’t like a walk in or roll in shower.
Some people don’t like their butt exposed to the cold.
Some people don’t like their butt exposed. Period.
Let’s be real – walk in showers aren’t for everyone. Yes, it is simpler for a barrier free shower to be a walk in shower. With certain bases (the ramped versions discussed above) invariably a roll in shower is an open shower.
Mistake #5 (the walls and enclosure) – You don’t plan for seating – or think you can’t get it if you have a small shower
Bringing a shower chair in and out of the shower daily is a pain (besides where do you put the doggone chair when it’s not in use?). No matter how large (or small) your shower is, don’t put up with this chair hassle.
If you’ve got a small shower (say 36” x 36”) a fold down bench seat can be put down when you need, it’s in the upright position when you don’t.
If you’ve got a moderate sized shower, corner bench seats (a 14” x 14” works well) are space-efficient and a sound decision.
For larger showers (60” wide and above) bench seats are a luxurious amenity.
If you’re not sure you want to put in seating today, add plywood backing behind your shower surround walls, so you have the support to install it later if you’d like.
Mistake #6 (the walls and enclosure) – You buy butt-ugly grab bars
Do you want to build a bathroom which will make it hard to sell your home later? A guaranteed way to make this happen is to install ‘grandma-special’ grab bars. You know what they look like from your last hospital stay.
Today’s stylish grab bars can support someone who needs to transfer from a wheelchair to a seat, or just needs extra support, yet they look like decorative towel bars.
Safety and style are no longer mutually exclusive.
Mistake #7 (the walls and enclosure) – You don’t plan for product storage
I don’t mean to be a male chauvinist here, but the reality is most showers are ‘designed’ (I’ll use this term loosely here) by remodeling contractors and builders who are men (for the most part). When you look at shower enclosures shared by men and women (like my master shower), the amount of product ‘the dude’ has is limited to a bottle of shampoo and a bar of soap. On the other hand, ‘the dudess’ knows A LOT OF PRODUCT IS CRITICAL.
With this need to ‘get pretty’ a barrier free shower (or any shower for that matter) needs more places for storage than ever before (it’s kind of like your home’s need for better closets!). If you have small shower use recessed soap and shampoo niches which fits snuggly into the wall. If you’ve got more space, put towel and soap storage under a bench seat or inside large expanses niches in the wall.
Storage options are better (and more important) than ever.
Mistake #8 (the overall design) – Splish, splash, your bathroom floor is taking a bath!
You know your shower floor pan is going to get wet (if it doesn’t’ you’ve got other problems). However, you don’t want the floor in the bathroom to be a sopping mess. If that’s the case, and the bathroom floor isn’t properly waterproofed (and most of them aren’t waterproofed as well as the shower), you may get a leak into the floors below. That would not be a good day.
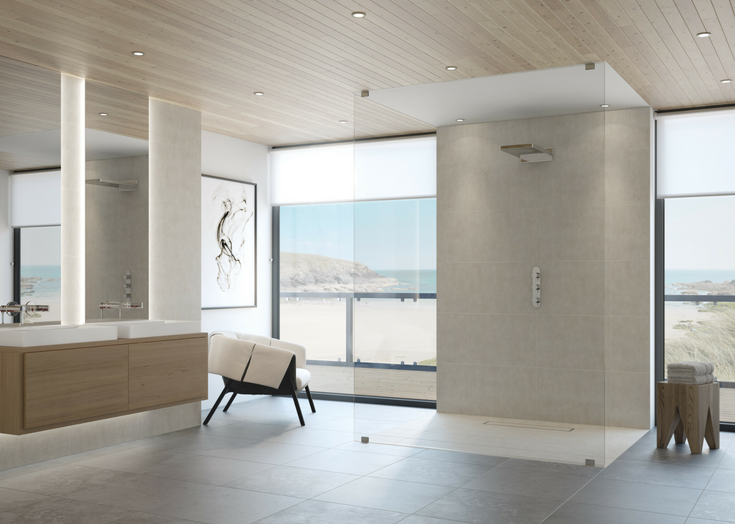
Leakage onto the bathroom floor is often caused by barrier walk in showers which are not designed properly. The cause of these errors is either (A) the glass enclosure is the wrong size/shape or (B) the location or type of shower head used is wrong. Let’s first look at the shape and size of the glass enclosure.
Mistake #9 (the overall design) – Designing for Mom or Grandma today can mean not selling your home without ripping out this shower tomorrow
A shower which is safe…. but looks like ‘grandma’ lives here will not be a hot seller. An effective ‘universal design’ (i.e. a universal design which will work for anyone) is not only safe, it’s stylish.
Who wants an ugly shower which reminds them of a hospital room? ‘Er, that would be NOBODY!
If you put in an ugly ramped fiberglass shower with ‘grandma grab bars,’ use a plastic shampoo holder over the shower head for soap and shampoo storage, prepare for your home to sit on the market. Worse yet a potential buyer may try to negotiate the pants off you, or make you replace the shower before they will buy your house.
An effective roll in, or barrier free shower is ‘tricked out.’ It looks contemporary and stylish…but will work for anyone. It’s not the impossible design dream. It can become your reality – with the right design.
Conclusion
I hope you can see now a barrier free shower is about more than just the shower pan. An effective barrier free shower is a system which is stylish, functional and a place you (or a loved one) will (safely) enjoy showering in.
I know dealing with a family member who needs a barrier free shower is already stressful, without worrying about these construction and design decisions. That’s why we would love to help you. Call us today!
We’re here to help you!

